The Terminal has a sell a product feature which allows employees to sell or create vouchers directly from the admin dashboard.
The sales terminal is designed to facilitate 2 main use cases.
- To facilitate the sale of vouchers face to face on property or over the phone, this terminal will allow you to generate vouchers while taking cash on property or using your own card machines / payment methods.
- To facilitate the creation of complimentary or free vouchers. There are many situations where a complimentary voucher may be generated. These can be for complaints, to issue out instead of refunds for bad weather or unforeseen events, charity events, or membership / customer rewards.
To locate the sales terminal find Redeem and Sell on the admin dashboard.

This will take you to the terminal.

There are two sales options here:
- Sell a live voucher
- Sell a test voucher
When you open the sales dashboard, you can change your sales location in the top right, but the main thing you will be doing here is selecting your product.

If you have a big catalogue of products, use the search bar to narrow it down, or use the filters to reduce the options.
You can filter by: Product type, status, categories and redeem locations.

When you've found the product you want, click on the product and you will land on the product detail page.

Similar to the normal customer checkout, there are a number of options you can do on this page
First you can add personalisation; You can add a to, from and add a personal message on behalf of the customer.

Secondly you can add enhancements or product upgrades to the order, giving your employees an opportunity to upsell at point of sale.

When you are ready add the product to basket , you can add as many products into the basket as you would like, but they will be sent to the same email or postal address and cannot be split up.

When you are ready proceed to checkout, the next screen you will be sent to is the delivery options, here you can:
- Add a recipient email - this is the only mandatory field and is the email the voucher will be sent to.
- Add a recipient name and a from name - adding some personalisation to the email
- Add a payment receipt email - this will send a payment confirmation receipt to this email, this is optional and can be a different email to the voucher.

If you have fulfilment enabled on the store your delivery page will give you 3 options.
- Email - Always enabled on every store.
- Post - Enabled if postal options have been set up on the store.
- Collection - Enabled if collection options have been set up on the store.

For collection:
- Select packaging option
- Add in email optional receipt email

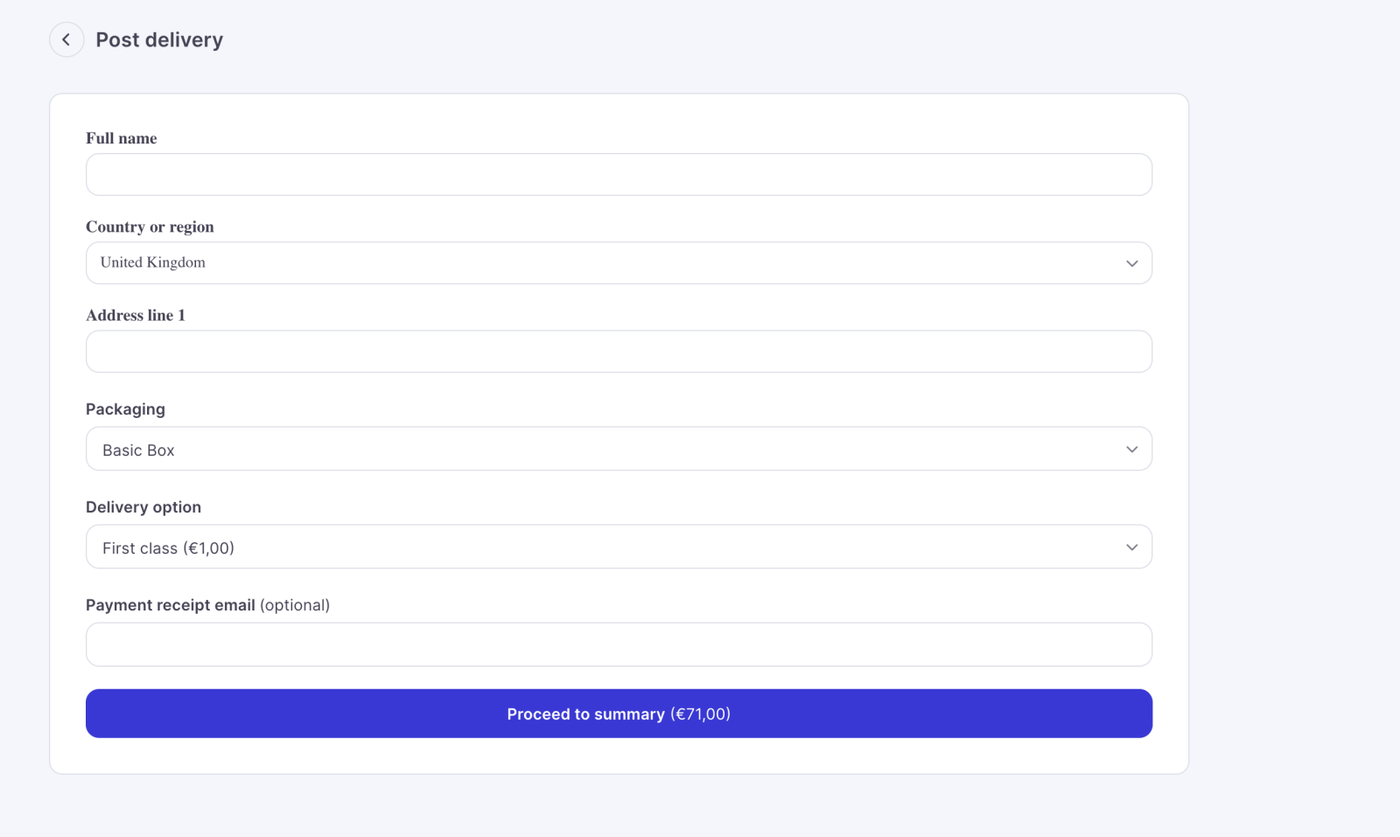
For postal orders:
- Input your customers name and address
- Then select packaging and postage
- Add in optional receipt email
When you are ready proceed to summary. Again there are a few options on this page.
- You can add a discount code , if there are any active promotions, they will show for your employee to optionally add to the sale.
- Staff discounting - Employees can add a direct discount to an order of a fixed amount or by clicking discount full order, the value of the sale will reduce to 0. This is how you create complimentary or free vouchers.
- Some businesses require their employees to put in a payment reference from their card machines or point of sale systems, again this is optional and will appear in reports for future reconciliation.

When you press discount full order the total sale will reduce to 0 and the voucher will become a complimentary or free voucher.

When you are ready to finish, just complete order, press next customer to go back to the beginning of the terminal.
