You can use the Voucher Importer to bring vouchers from other systems such as third-party providers or offline sales into your account. This helps you manage all redemptions in one place, even if the vouchers weren’t originally sold through our platform.
For a guide on how to best prepare your CSV document and how best to format the data, click here.
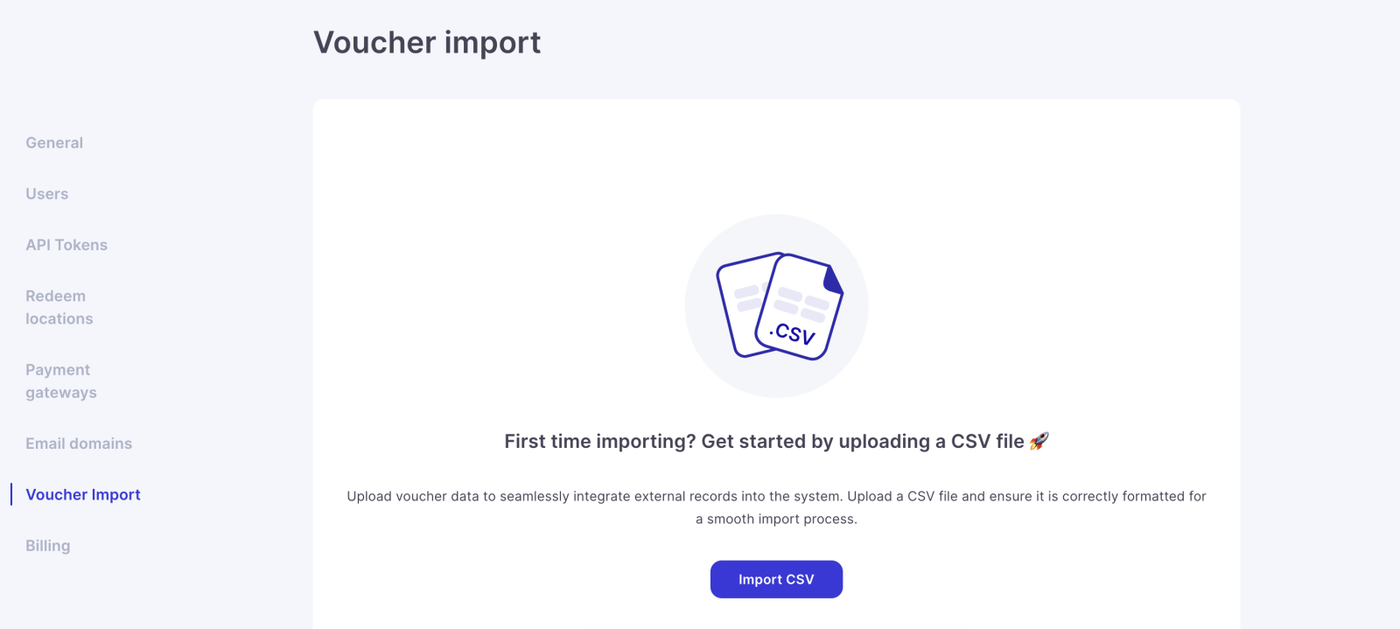
You can find the voucher importer in the store settings, the empty state of this page is shown here:
To start the import process, press the Import CSV button.
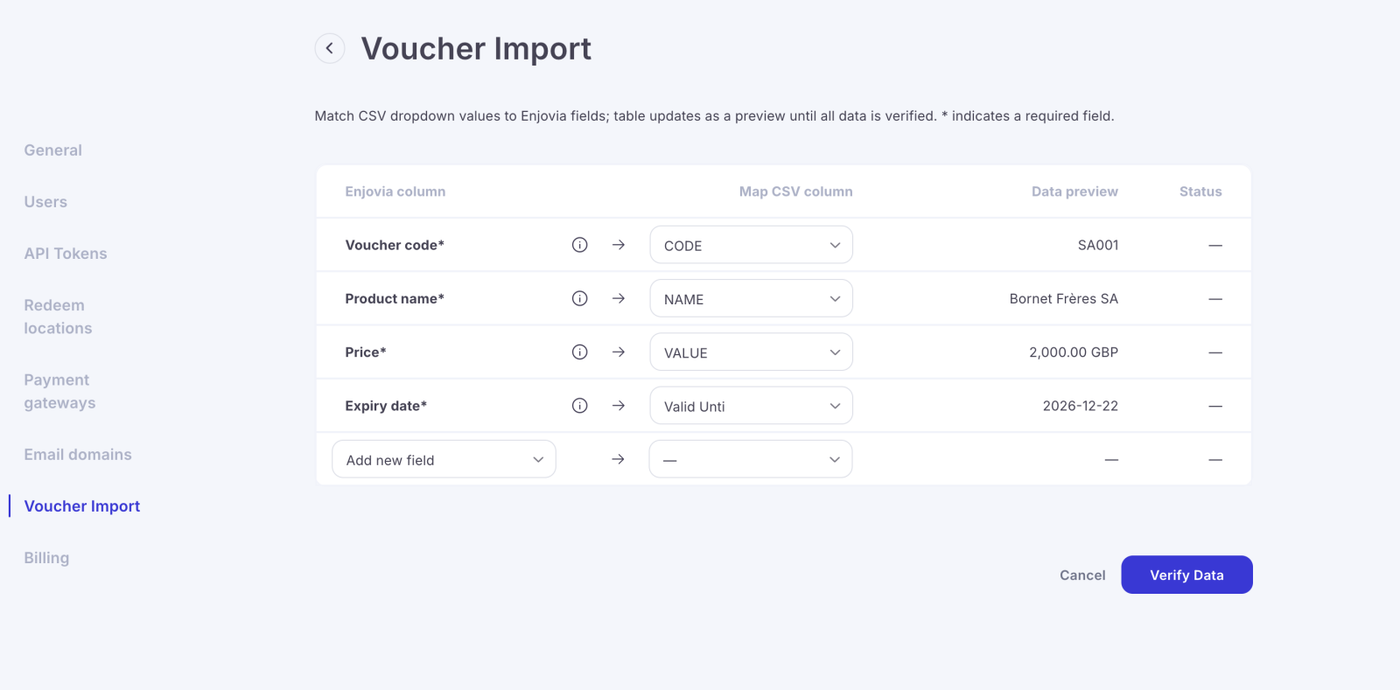
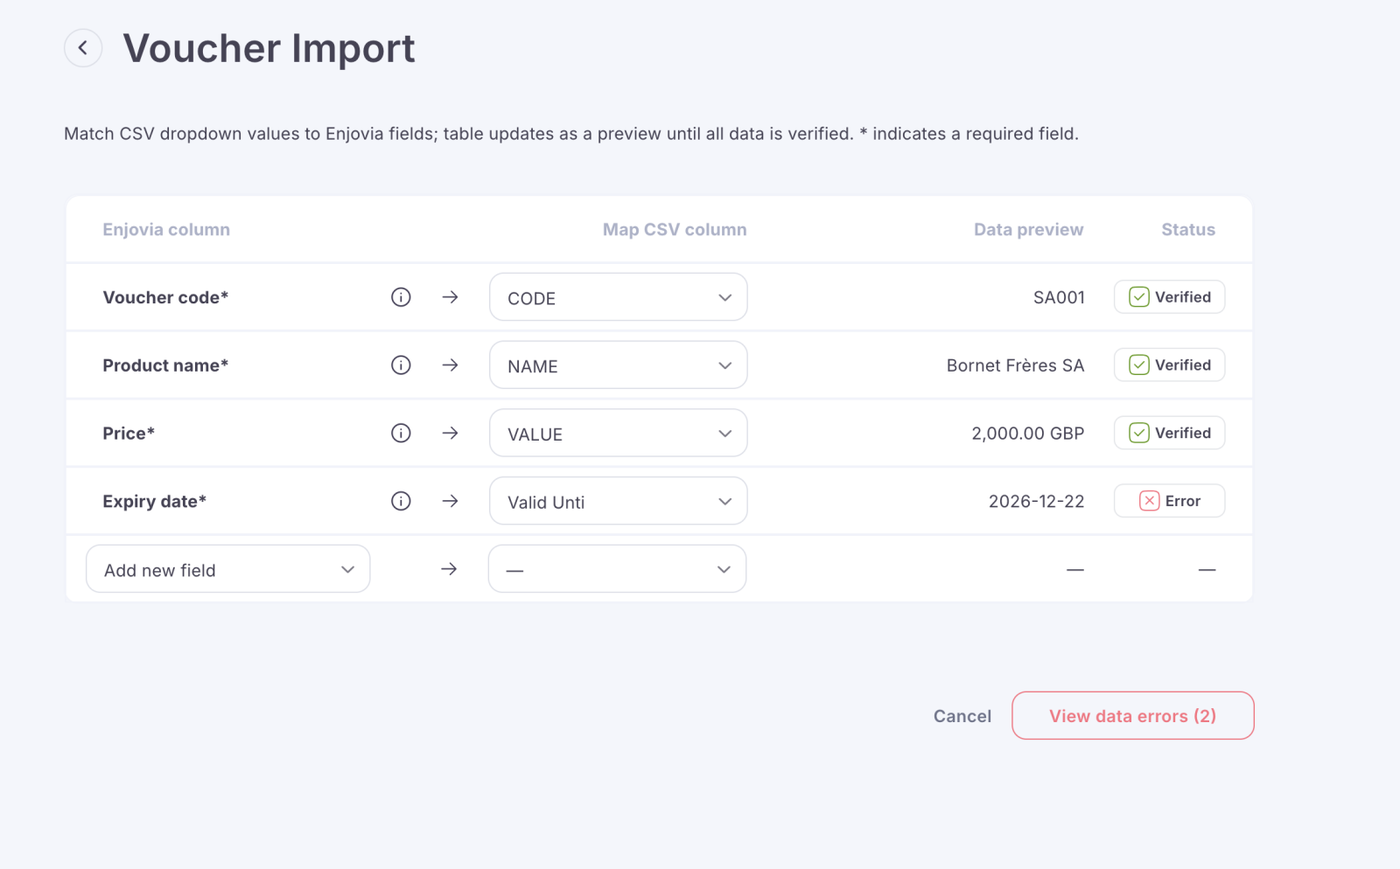
When you upload your CSV, the system will show this field mapping page. This is where you tell the importer which columns in your file match our voucher fields.
-
On the left, you’ll see the Enjovia fields (the required data our system needs).
-
On the right, you’ll select the matching column from your CSV.
-
The data preview lets you check that the values look correct.
-
The status column will confirm once everything is verified once you verify the data.
Once you’ve matched all the fields, click Verify Data to begin the verification process, this process may take several minutes.
When the data is verified the status column will change to show whether the data is verified.
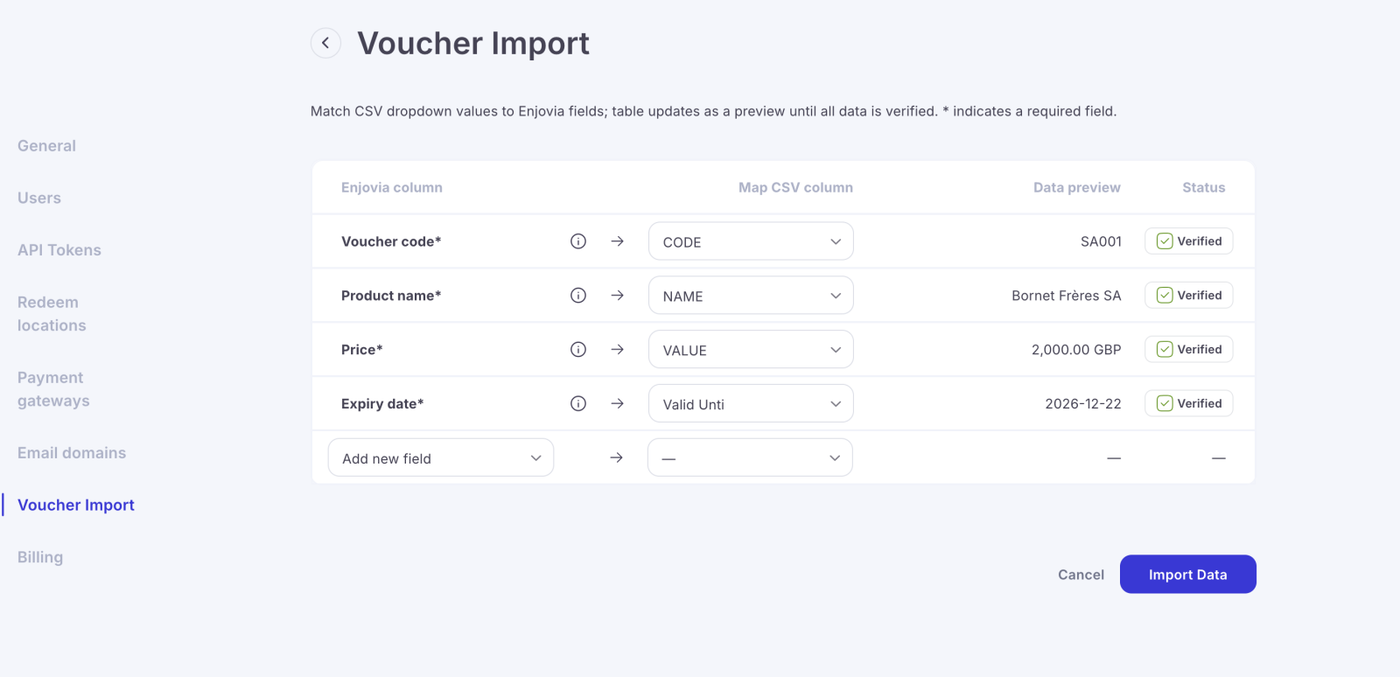
If the data is verified the Import data button will appear once pressed you will be taken to a confirmation page.
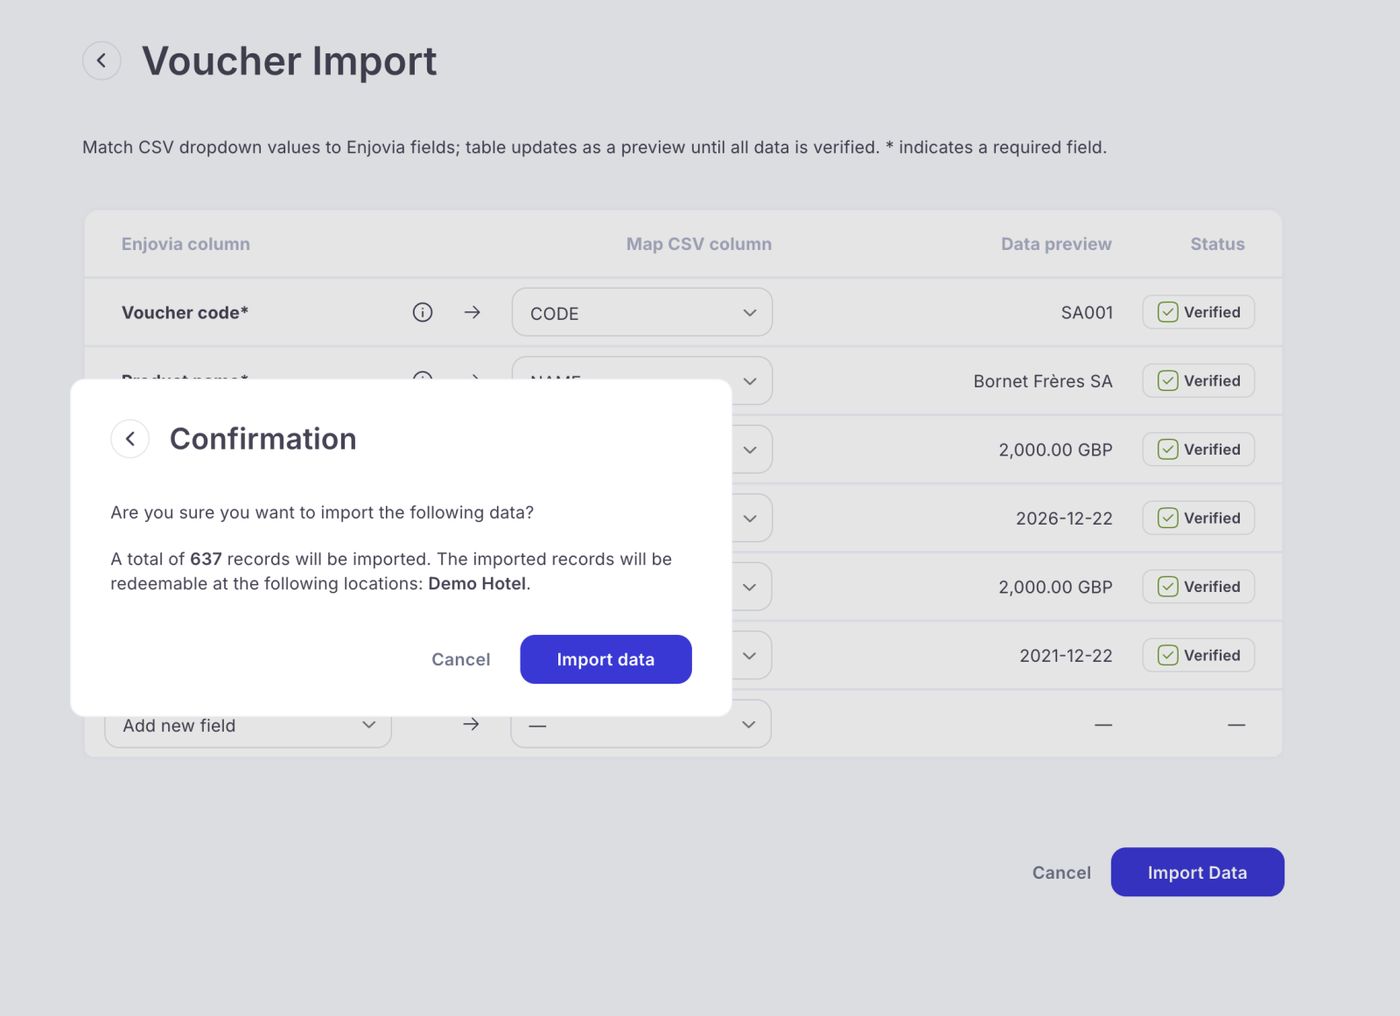
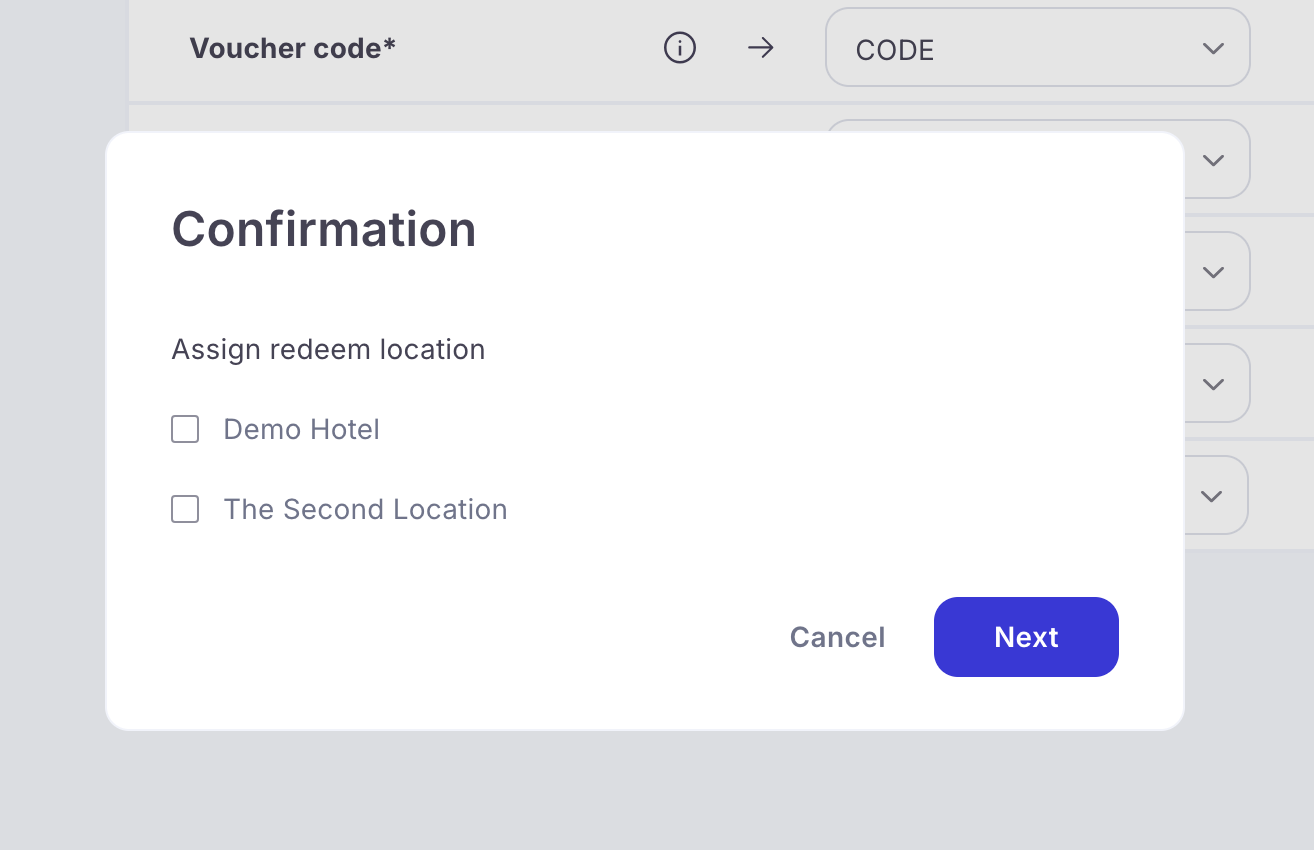
If your business has multiple redeem locations, you’ll first need to decide where each imported voucher can be redeemed. This can be:
-
One location
-
Some locations
-
All locations
Best practise for groups.
For businesses with multiple sites or brands, we recommend uploading vouchers on a location-by-location basis.
-
Experience vouchers are usually tied to a specific location (e.g., a spa day at Hotel A).
-
Monetary vouchers are often valid across all locations.
Example:
If you operate two locations and sell both experience and monetary vouchers:
-
Upload a CSV for Business 1 experience vouchers → limit redemption to Business 1 only.
-
Upload a CSV for Business 2 experience vouchers → limit redemption to Business 2 only.
-
Upload a CSV for Monetary vouchers → make redeemable at all locations.
This approach ensures vouchers are always redeemable in the right places, avoids confusion, and keeps reporting accurate.
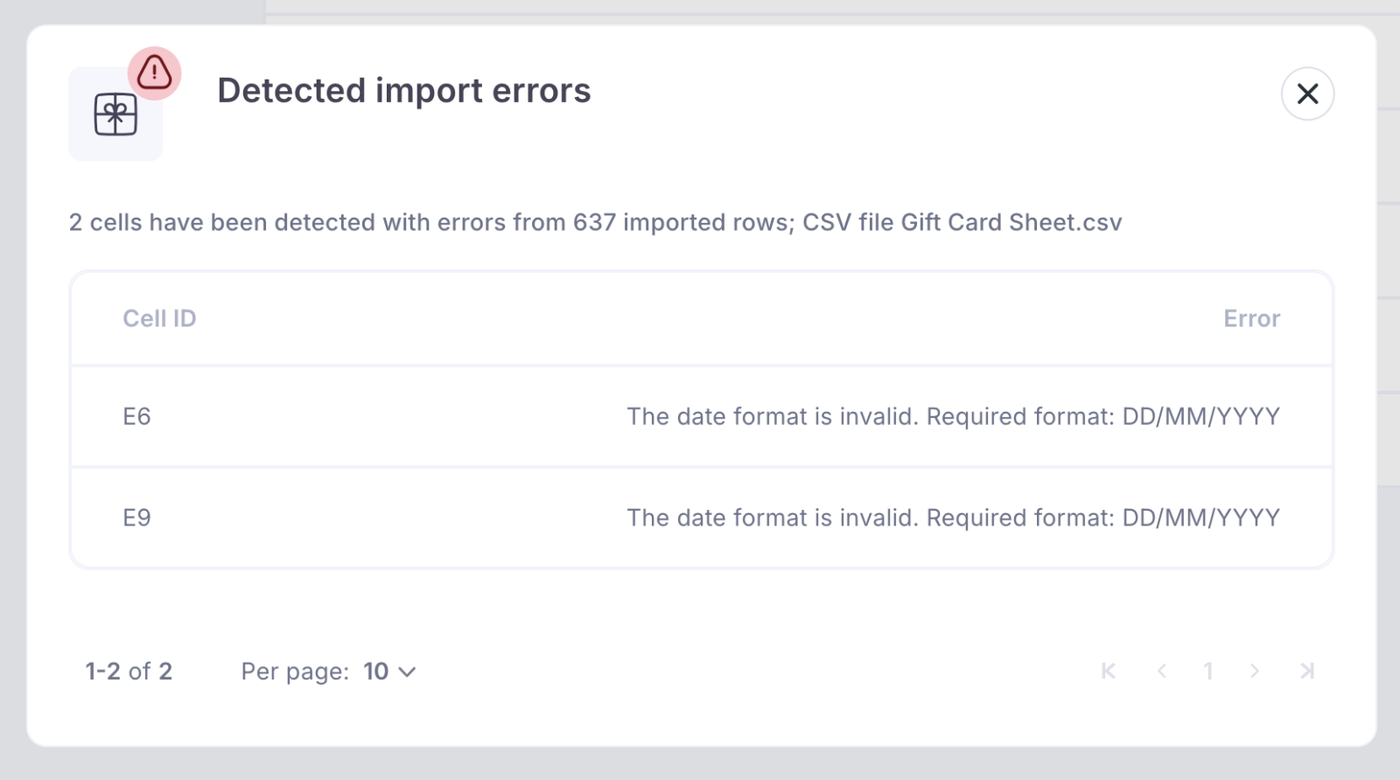
If there are verification errors the ability to upload will be greyed out and the status will show you which data fields have errors in.
You can now see exactly which fields contain errors, giving you the chance to correct them in your CSV file and re-upload it.
If no errors are found, you’ll be taken back to the Voucher Import main page, where you can track the progress of your import.
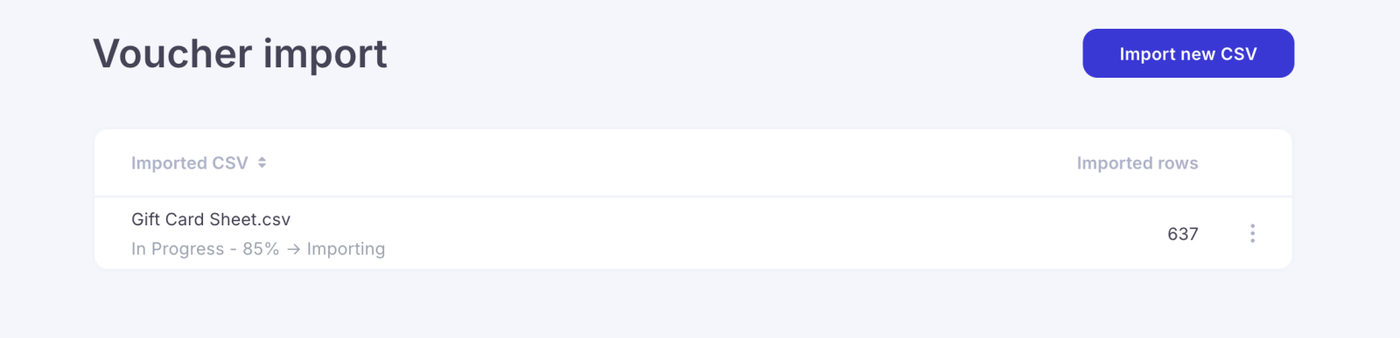
If there are duplicates you may still get errors at this stage, but the system will allow the upload, but it will skip problematic rows.
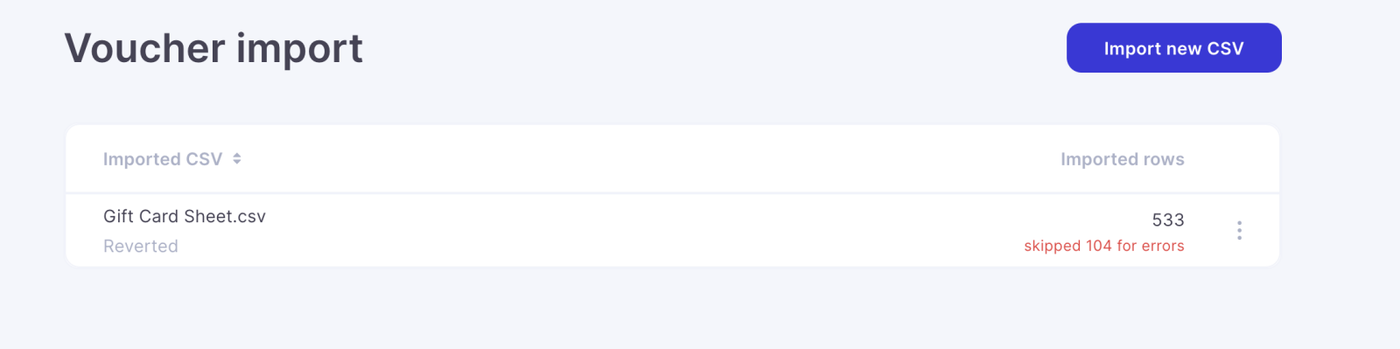
If you need to fix any duplicates or double-check your data, you can download the file directly from this stage. You can also delete the import by clicking the three-dot menu at the end of the row.
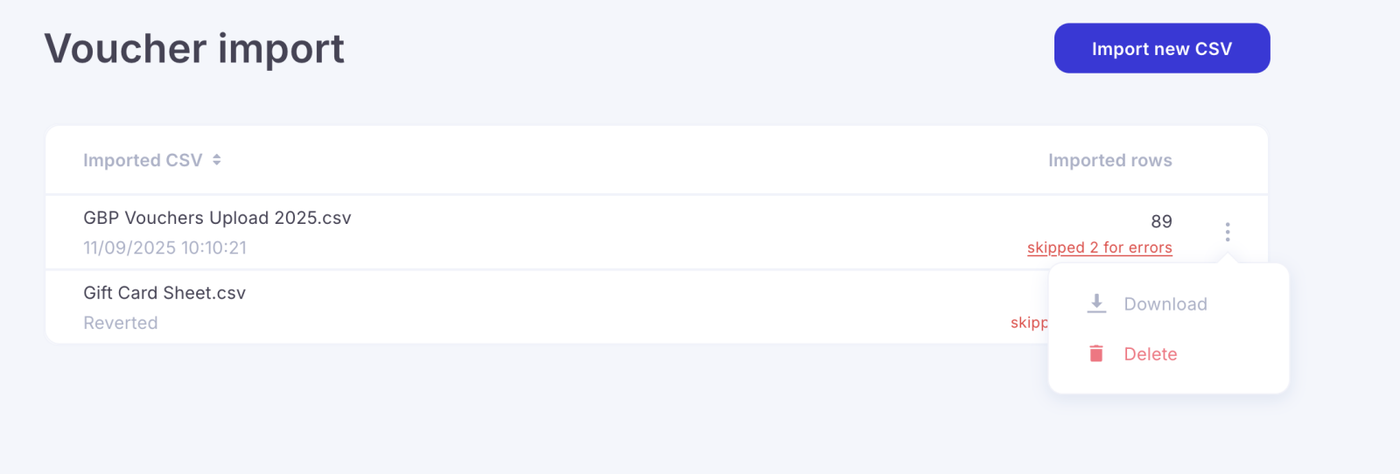
If you delete or revert an import, the system will treat it as if it never existed. This means that any actions previously taken on those imported vouchers (e.g., a voucher that had already been redeemed) will no longer be reflected in the system.
This will still show up on the table as a Reverted import.
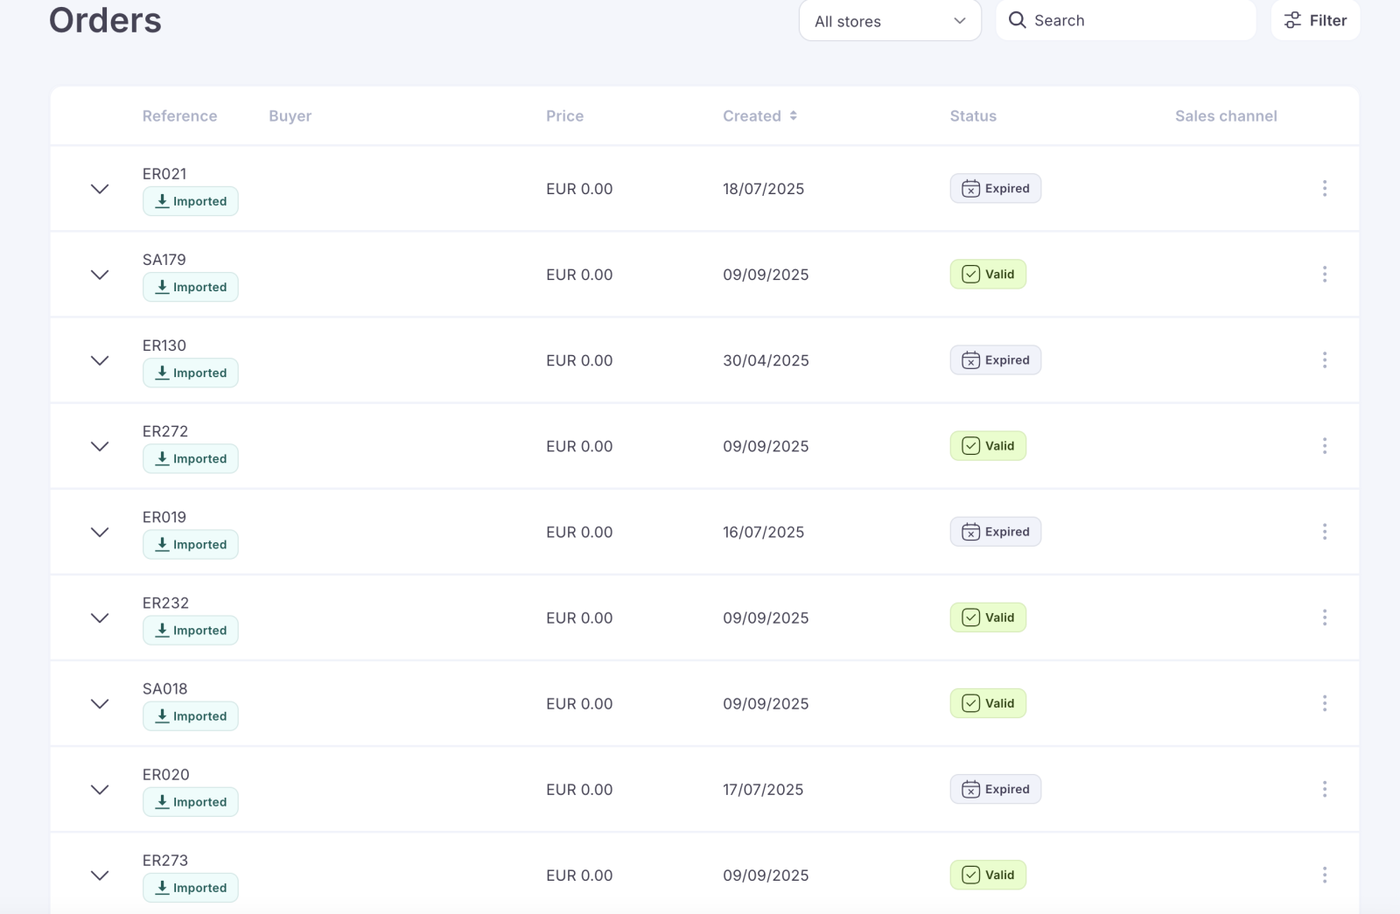
Imported vouchers will appear in your Orders and will be clearly marked as Imported. They can still be redeemed through the terminal or via the API, just like regular vouchers.
In the example below, you can see an import of complimentary vouchers - these are vouchers with no monetary value but can still be tracked and redeemed through the system.
If you are having any issues with import or would like our team to help you import, please let us know.